
In an age of video conferencing, voice searches, and web-based communication tools, microphone access has become a staple feature of modern web browsing. One of the most used browsers in the world—Google Chrome—relies on granting permissions to web applications to function effectively. Whether you’re trying to join a Zoom meeting in your browser or record a voice memo in a web application, knowing how to allow microphone access is essential.
TLDR (Too Long; Didn’t Read)
To allow microphone access on Google Chrome, go to the site settings or click the small lock icon in the URL bar of the site requiring access, and enable microphone permissions. Make sure your operating system also allows Chrome to use the microphone. If you’re still facing issues, check whether your microphone is properly connected and selected as the default input device. This guide explains the entire process step by step to ensure uninterrupted access.
Why Microphone Access Matters
Modern websites frequently request microphone access for valid reasons such as voice calls, audio recordings, searching through voice input, or participating in online classrooms. Chrome’s built-in privacy model protects users by requiring explicit permission for these actions. However, for the user, this means understanding how to safely and correctly enable microphone access when needed.
1. Granting Microphone Access Through Chrome Settings
One of the most straightforward ways to allow microphone access is directly from within Chrome’s settings. Follow these instructions:
- Open Google Chrome on your device.
- Click the three dots (Menu icon) in the top-right corner of the browser window.
- Navigate to Settings.
- Scroll down and click on Privacy and Security.
- Under that category, select Site Settings.
- Click on Microphone.
- Toggle the switch to Ask before accessing (this is usually turned on by default).
- Review the list of blocked and allowed sites. You can manually add websites to either list, depending on your preference.
At this point, Chrome will prompt you whenever a site attempts to access your microphone. You can then approve the request if you trust the site.
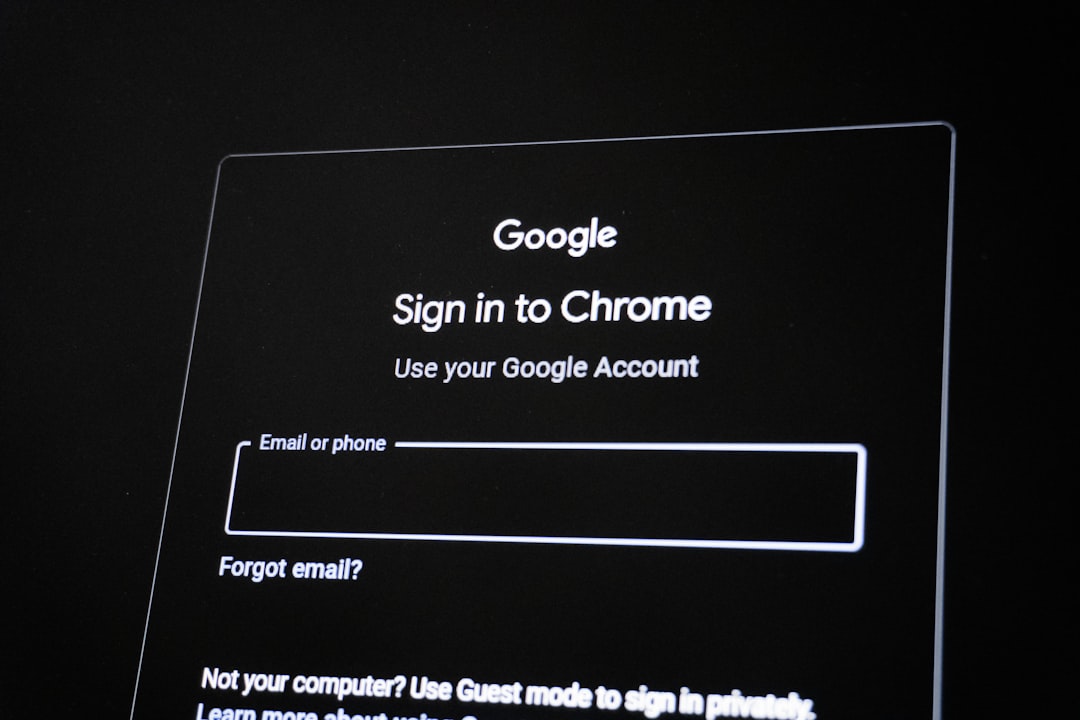
2. Allowing Access Via the Address Bar
If you’re on a website and notice that your microphone isn’t working, you can quickly grant access through the address bar. Here’s how:
- Look at the left side of the URL bar for a small lock icon—click it.
- You will see permissions listed for that site. Find Microphone and select Allow from the dropdown menu.
- If you made changes, you might need to refresh the page for them to take effect.
This method is extremely effective for site-by-site management and doesn’t require navigating through settings menus.
3. Ensuring Your Microphone is Properly Configured
Sometimes the issue isn’t with Chrome but with your microphone or device settings. Before troubleshooting Chrome, confirm the following:
- Your microphone is properly plugged in (for external mics).
- Your computer has detected the device (check through Sound Settings).
- The correct microphone is set as default.
On Windows:
- Right-click the speaker icon in your taskbar and select Sounds.
- Go to the Recording tab.
- Right-click your microphone and choose Set as Default Device.
- Disable other recording devices to eliminate conflicts.
On macOS:
- Open System Preferences and click on Sound.
- Go to the Input tab and select your microphone from the list of devices.
- Adjust input levels using the volume slider if needed.

4. Check for Chrome Permissions at the OS Level
In newer operating systems, especially Windows 10/11 and macOS Catalina and beyond, apps have to be granted permission to use your microphone at the system level. Here’s how to confirm and adjust these settings:
On Windows 10/11
- Click on the Start button and go to Settings.
- Click Privacy and then select Microphone.
- Ensure that Allow apps to access your microphone is turned on.
- Scroll down and make sure Google Chrome is listed and enabled.
On macOS
- Open System Preferences.
- Click on Security & Privacy, then go to the Privacy tab.
- Click the lock icon to make changes and enter your admin password.
- From the left-hand menu, select Microphone.
- Ensure the checkbox next to Google Chrome is selected.
Without setting this correctly, Chrome will not be able to access your microphone—even if browser settings are configured properly.
5. Dealing with Common Microphone Issues in Chrome
After setting everything up, you might still encounter occasional problems. Here are some typical scenarios and how to resolve them:
- Issue: Microphone works in other apps but not Chrome.
Solution: Reset Chrome settings to default or clear browser cache. - Issue: Website doesn’t ask for microphone permission.
Solution: Make sure “Ask before accessing” is enabled in site settings. - Issue: Echo or poor sound quality.
Solution: Try using headphones or a noise-canceling microphone, and shut off unused browser tabs that may interfere.
6. Using Chrome Flags (Advanced Users)
Advanced users who are experiencing persistent issues might consider using Chrome Flags. These are experimental features that can be toggled to modify Chrome’s behavior, including how it handles devices like microphones. Caution is advised when changing these settings:
- Open a new tab and go to
chrome://flags. - Search for terms like “media” or “microphone.”
- Change the setting only if you understand what it does, and remember to relaunch Chrome afterwards.
Only proceed with flags if you are comfortable with potentially unstable features.
7. Resetting Permissions for Specific Websites
If a website previously denied microphone access and you want to change that, follow these steps:
- Visit the particular website in Chrome.
- Click the lock icon in the URL bar.
- Select Site Settings.
- Change the Microphone setting to Allow.
This will override any past decisions and prompt a fresh permission request the next time the site attempts to use the microphone.
Final Thoughts
Being able to manage microphone access in Chrome accurately ensures a secure and optimized browsing experience. It allows trusted websites to offer their full functionality while blocking unauthorized access. Whether for work-related meetings, educational purposes, or casual browsing, knowing how to configure these settings empowers users to stay both productive and protected.
Always double-check which websites are requesting access and only grant permissions to those you trust. Privacy is paramount, and Chrome ensures users maintain control—provided they know where to look.