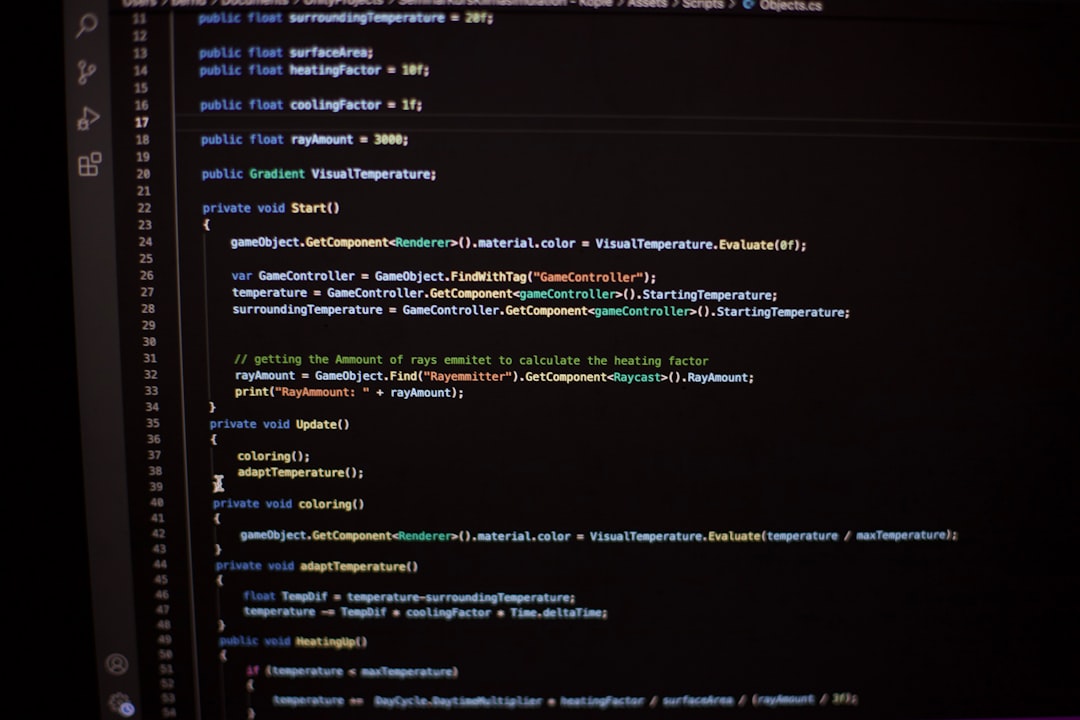
So, you’ve built a beautiful HTML website. It’s sleek. It’s fast. But now, you want more. You want to use WordPress so that you can manage content easily without touching code every time. Great! Let’s turn that HTML site into a WordPress theme. Don’t worry, it’s easier than it sounds. No magic, just simple steps.
Why Turn HTML into a WordPress Theme?
WordPress is awesome. It lets you:
- Add or edit pages with zero coding.
- Use plugins to add cool features.
- Let clients handle their own content.
- Focus on design, not updates.
If your site is just a static bundle of HTML and CSS, you’re missing out. Let’s fix that!
What You’ll Need
Before we start slicing and dicing code, here’s what you should have:
- Your full static HTML site folder (HTML, CSS, JS).
- A local WordPress install or a live installation to work on.
- A code editor like VS Code, Sublime Text, or even Notepad++.
Step 1: Set Up a Theme Folder
First, go to the wp-content/themes/ directory in your WordPress install.
Create a new folder with the name of your theme, like my-html-theme.
Now, copy all your HTML site files into this folder. We’ll clean it up in a bit.
Step 2: WordPress Needs Special Files
A WordPress theme must have at least two files to work:
- style.css
- index.php
So let’s create a new file called style.css and add this at the top:
/*
Theme Name: My HTML Theme
Description: A custom WordPress theme made from an HTML site.
Version: 1.0
Author: You
*/
This tells WordPress that your theme is alive and ready to go!
Step 3: Split Your HTML into Template Files
Take your main HTML file, something like index.html, and open it.
Now, we’ll split it into five important PHP files:
- header.php – top of the page (logo, nav, meta links)
- footer.php – bottom of the page (footer text, closing HTML)
- index.php – main content area
- sidebar.php – optional side widgets or navs
- functions.php – for loading styles and scripts
Let’s break apart your HTML file smartly.
Create header.php
From the top of your HTML file up to just before the main content, cut it and paste into a new header.php.
Make sure it ends with this line:
<body>
  <?php wp_head(); ?>
This allows WordPress to load scripts and styles.
Create footer.php
From the end of your main content area to the bottom, add it to footer.php.
End it with:
  <?php wp_footer(); ?>
</body>
</html>
Create index.php
This is where your main content will go. For now, create a new file and add:
<?php get_header(); ?>

<div class="content">
  <?php
  if ( have_posts() ) :
    while ( have_posts() ) : the_post();
      the_content();
    endwhile;
  else :
    echo '<p>No content found</p>';
  endif;
  ?>
</div>

<?php get_footer(); ?>
This is dynamic goodness. Now content will come from WordPress posts and pages.
Step 4: Move CSS and JS the WordPress Way
Take all your CSS files and place them inside a css folder in your theme folder.
Put JS files in the js folder.
Now, open functions.php and create this new file.
Add this code to properly load your styles and scripts:
<?php
function my_theme_assets() {
  wp_enqueue_style('main-css', get_template_directory_uri() . '/css/style.css');
  wp_enqueue_script('main-js', get_template_directory_uri() . '/js/script.js', array(), false, true);
}
add_action('wp_enqueue_scripts', 'my_theme_assets');
?>
This is the WordPress-approved way to load files. No more hardcoding in the header!
Step 5: Make Things Smart
Lots of links and image paths in your old HTML are probably hardcoded. Like this:
<img src="images/photo.jpg">
Change that to:
<img src="<?php echo get_template_directory_uri(); ?>/images/photo.jpg">
This makes your path dynamic and future-proof.
Add Menus
Open functions.php again and register your menus:
register_nav_menus( array(
  'main-menu' => 'Main Menu'
) );
In header.php replace your old nav with:
<?php
wp_nav_menu( array(
  'theme_location' => 'main-menu'
) );
?>
Now go to WordPress admin and create your menu. Assign it to “Main Menu.” Just like that, dynamic magic!
Step 6: Add More Template Files (Optional)
You can now create additional template files as needed:
- page.php – for pages
- single.php – for individual posts
- archive.php – for blog lists or categories
Use logic and repeat the process similar to what we did in index.php.
Step 7: Activate and Test!
Once everything’s saved and you’re happy – go to your WordPress dashboard.
- Click on Appearance → Themes
- Your theme should be there with the name from style.css
- Click “Activate”
Now load your site… BOOM! It’s your old HTML site, now powered by WordPress.
Bonus Tips
- Use WordPress loops for dynamic content.
- Add widgets using sidebar.php.
- Add support for featured images.
- Test everything — on mobile and different browsers!
Wrapping Up
Turning an HTML site into a WordPress theme may feel scary at first. But once you get the hang of it, it’s kind of awesome. You can combine the visual flair of custom HTML/CSS with the power of WordPress features.
Now you can let clients edit content, install plugins, and manage the website easily. While you chill with coffee (or code something cooler).
Happy theming!


