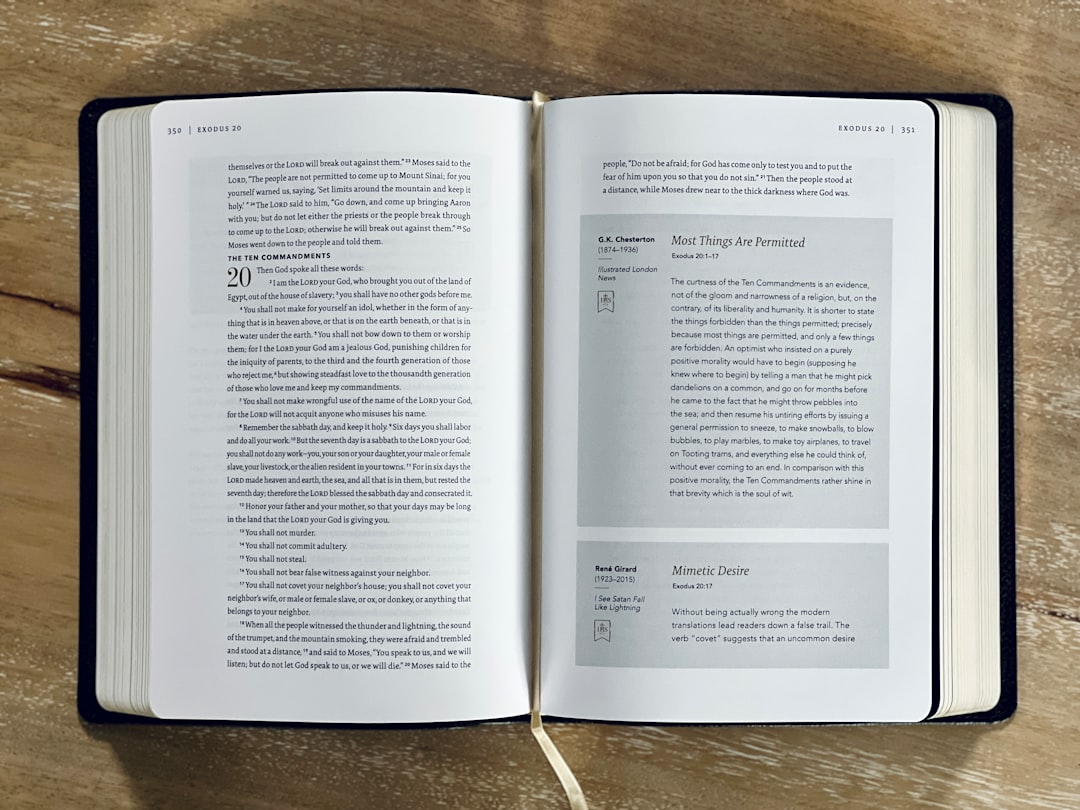
Need to convert a PDF to a PNG without losing quality? You’re not alone. It can be tricky to get it *just right*. But don’t worry! We’ve got the ultimate guide to help you get crystal clear PNGs every time — all without paying a dime.
Let’s jump in and unlock the secrets to perfect PDF-to-PNG conversions.
Why Convert PDF to PNG?
First things first. Why even bother turning a PDF into a PNG?
- High-quality images: PNGs are perfect for presentations, websites, or reports.
- Better compatibility: Some platforms don’t easily support PDFs.
- Easy to edit: You can use PNGs in graphic tools like Canva or Photoshop.
Simple enough, right? Now let’s talk about how to do it *without* losing quality.
Tip #1: Choose the Right Tool
Not all converters are created equal. That’s the truth.
Some squash your images. Others mess up the colors. You want a tool that keeps everything sharp, clean, and WOW-worthy.
Here are a few free and reliable ones:
- PDF.to: Easy to use with drag-and-drop simplicity.
- Smallpdf: Constantly updated and very beginner-friendly.
- CloudConvert: Great control over image resolution.
- PDF24 Tools: Fast, free, and installed directly in your web browser.
Pick one and test it with one page first to see the quality.
Pro tip: Look for tools that let you set the DPI (dots per inch) before converting — more on that next!
Tip #2: Increase the DPI for Sharpness
DPI affects how detailed your PNG turns out. The more, the merrier!
Standard is 72 DPI — okay for screens. But if you want *chef’s kiss* images, bump it up. Don’t go below 150 DPI. For top-tier quality, 300 DPI is ideal.

Many converters — like CloudConvert — let you enter the DPI manually. Always take advantage of that setting.
Tip #3: Convert Individual Pages
Trying to turn a 100-page PDF into one PNG file? That’s a no-go. It’ll shrink everything or make it blurry.
Instead, convert page-by-page. That way, each image gets its own attention — and resolution!
- You’ll get a separate PNG for every page.
- The quality will stay consistent.
- You won’t have to zoom in like a detective to read anything.
Bonus: You can even rearrange the order or only convert the pages you need.
Tip #4: Avoid Screenshots
This one’s important. A lot of folks just zoom into the PDF and take a screenshot.
Please, no. Just… no.
That’s like trying to paint the Mona Lisa with crayons. Because screenshots:
- Are low-res (unless you work for NASA).
- Usually include extra stuff like toolbars or scroll bars.
- Compress images like a vice grip on your quality.
Always use a dedicated converter instead.
Tip #5: Keep Transparency (If Needed)
One of the best features of PNGs is transparency. That means you can use your converted image in slides or on websites without any white background blocks.
But not all converters support transparency.
If the PDF page has a transparent design (like logos), use a tool that specifically says “preserve transparency.” If not, you’ll end up with a clunky-looking image.

Tip #6: Use Desktop Tools for Big Files
Browser-based tools are great. But for very large PDFs (like 50MB+), they may freeze or downgrade quality to keep file sizes low.
You can beat this by downloading a free desktop app like:
- GIMP: A powerful free image editor that can open PDFs and export to PNGs.
- IrfanView: Lightweight, fast, and surprisingly good at batch conversion.
- PDF-XChange: Great for exporting at high quality without crashing.
These give you more control and don’t rely on your internet connection.
Tip #7: Batch Convert If You Have Many Pages
Converting 1 page is fun. Converting 50? Not so much.
Look for tools that support batch conversion. Upload the whole document, and get a folder of PNGs out. No sweat!
Some tools even name the files by page number, which makes organization super easy.
Bonus Tips for Keeping Your PNGs in Top Shape
Want next-level results? Here are a few extra goodies:
- Don’t re-save PNGs multiple times. Every time you do, there’s a slight risk of quality decay. Keep the original.
- Name your files right. Use clear names like page1_title.png to stay organized.
- Use a PNG optimizer. Tools like TinyPNG can shrink size without losing visual quality.
FAQs – Quick Fire Questions Answered
Q: Can I convert a scanned PDF to PNG?
A: Yes! Just make sure your converter supports OCR (Optical Character Recognition) if you also need editable text.
Q: Can I do it on my phone?
A: Yep. Apps like Adobe Scan or Xodo on Android and iOS can export pages as images.
Q: Will the quality be 100% the same?
A: It should be, if you follow the tips above. High DPI + a good converter = near-perfect result.
Let’s Wrap it Up
Converting PDFs to PNGs doesn’t have to be a pain. Stick to the tools and tips we shared, and you’ll get image-perfect results every time — totally free.
To recap:
- Pick a good converter.
- Use high DPI settings (at least 150, preferably 300).
- Convert one page at a time for clarity.
- Use desktop tools for big files.
- Keep transparency if needed.
Now go out there and conquer your PDFs like a pro!
Got a go-to tool or trick we missed? Share it around! Your tips might save someone’s next big project from blurry disaster.
![]() happy user with clear png images result[/ai-img>
happy user with clear png images result[/ai-img>
