
Users will often see what is available in the menu to find what they are looking for. How you structure the menu, name the elements, and use the hierarchy will influence the user experience. Menus on the desktop and mobile devices are not displayed the same, but they must be visible and accessible.
Sometimes you will also want the menu visible even when the user scrolls down on the page. This is called a sticky menu. You can set it up with a few clicks if you have a WordPress website.
Let’s find out how!
Make a Sticky Menu with WP Sticky
WP Sticky is a WordPress plugin that allows you to stick an element of your website to a part of the screen. Sticking an element is a powerful way to make an essential piece of information always visible.
With this plugin, you can set up additional features, such as a push-up element, which will stop the sticky element from following the scroll once they collide. Another cool feature is that sticky elements can also be shown on specific sizes of screens or hidden on certain pages.
Add Menu Element
Like any other element, you must find the ID to make it sticky with the free WP Sticky plugin. For the menu, it’s usually something like #menu or #main-menu. It depends on the theme or the widget your menu is part of. You can always use the in-browser element inspector and double-check the menu ID on your website.
Once you have this information and WP Sticky plugin installed, head over to the WordPress dashboard of your website, and from the menu on the left, find Settings. Once you click on it, you will see a dropdown – find Sticky Menu and click on it.
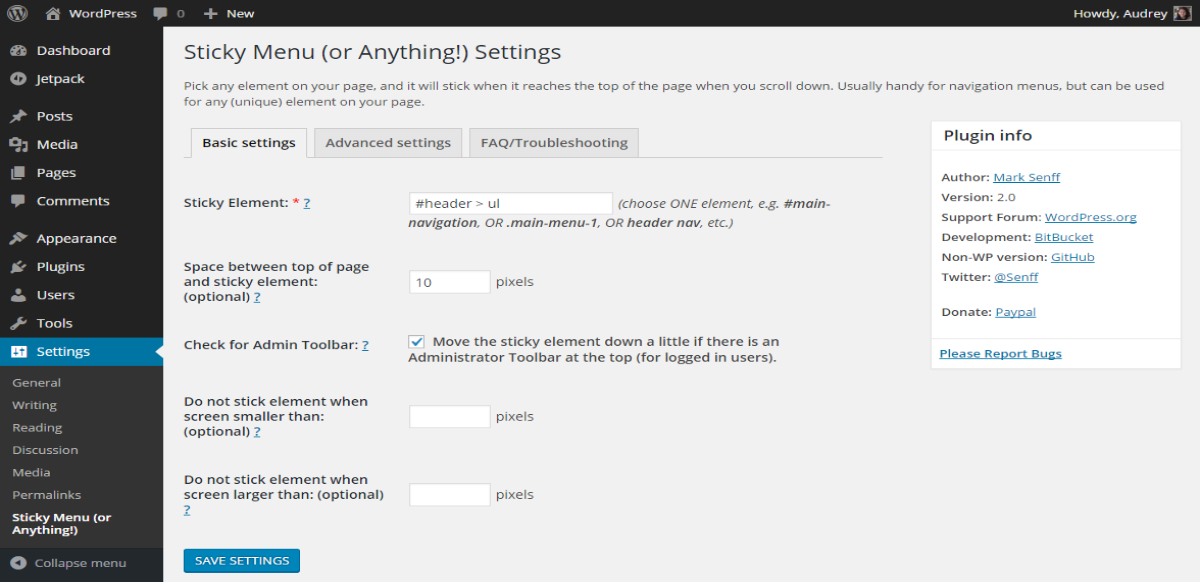
Now you will see the dashboard of this plugin, the basic settings tab. In the first field labeled Sticky Element, paste the element ID. Keep in mind that with the free version of this plugin, you can make only one element sticky!
Additionally, you can change the spacing between the top of the page and the menu. By default, it’s 10 pixels. As already mentioned, you can choose not to make the element sticky on pages specific sizes by adding the minimum or maximum width in pixels. We don’t need these for the menu, so hitting the save settings button will do the job. Your menu is now sticky!
Visual Picker
Now, if you don’t have much experience with HTML and IDs of elements in WordPress, don’t give up just yet. There is a more straightforward way to achieve the same result. Visual Picker is a feature of the WP Sticky’s pro version, and it will allow you to select the desired element, in this case, the menu, with one click!
Once the plugin is activated, go to your website’s dashboard and find the WP Sticky PRO under the settings. When you click on it, the dashboard of this plugin will appear. Here you can create and manage all of the sticky elements on your website – that’s right, with the PRO version, you can add multiple elements, more on this in a second.
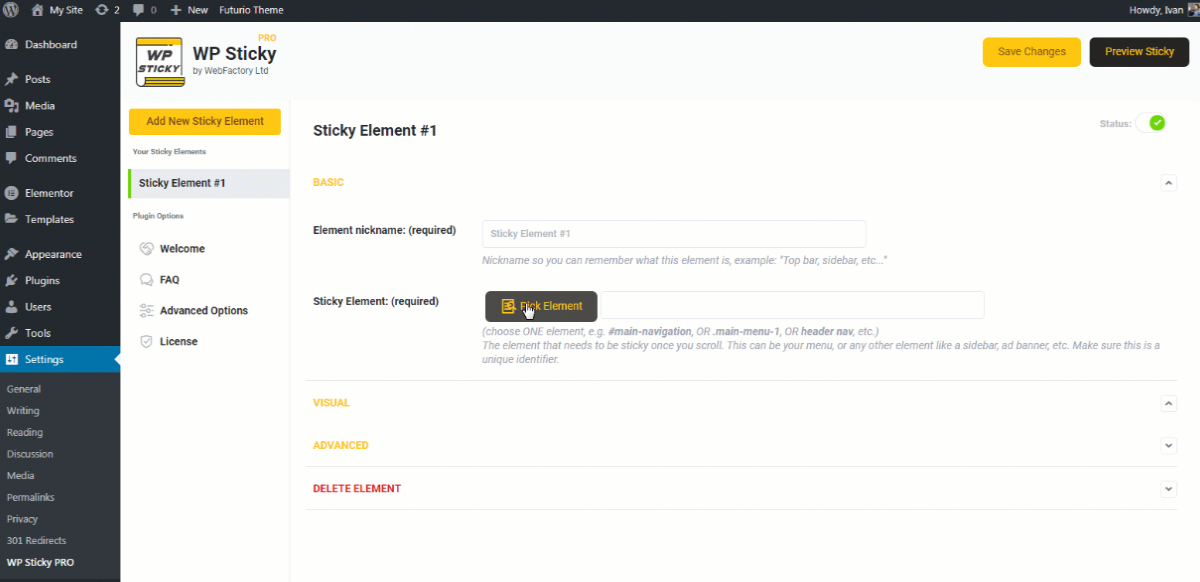
To make a sticky menu with Visual Picker, click the Pick Element button, and your home page will appear with the WP Sticky header. Don’t worry – this view is visible only to you. Click on the menu, and you are all set.
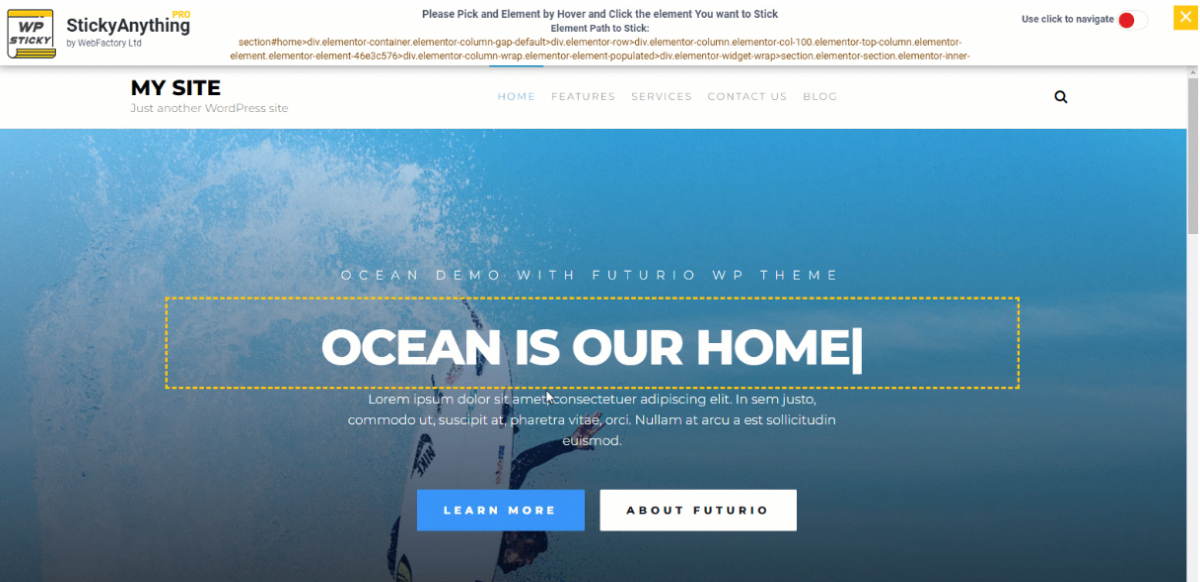
The result will be similar to the one on this page. (Scroll down and see the menu following you.)
Once again, if you want to add space between the element and the content or to stop the menu from following the scroll after some point, you can check additional settings. Once you are all set, hit the save changes button.
Multiple Sticky Elements
As we already mentioned, sometimes it could be helpful to have multiple sticky elements. For example, maybe you want the title and sidebar to be always visible, like in the image below.

This feature is only available in the WP Sticky PRO version of the plugin, and you can see on the image below that title and widget stay sticky while scrolling.
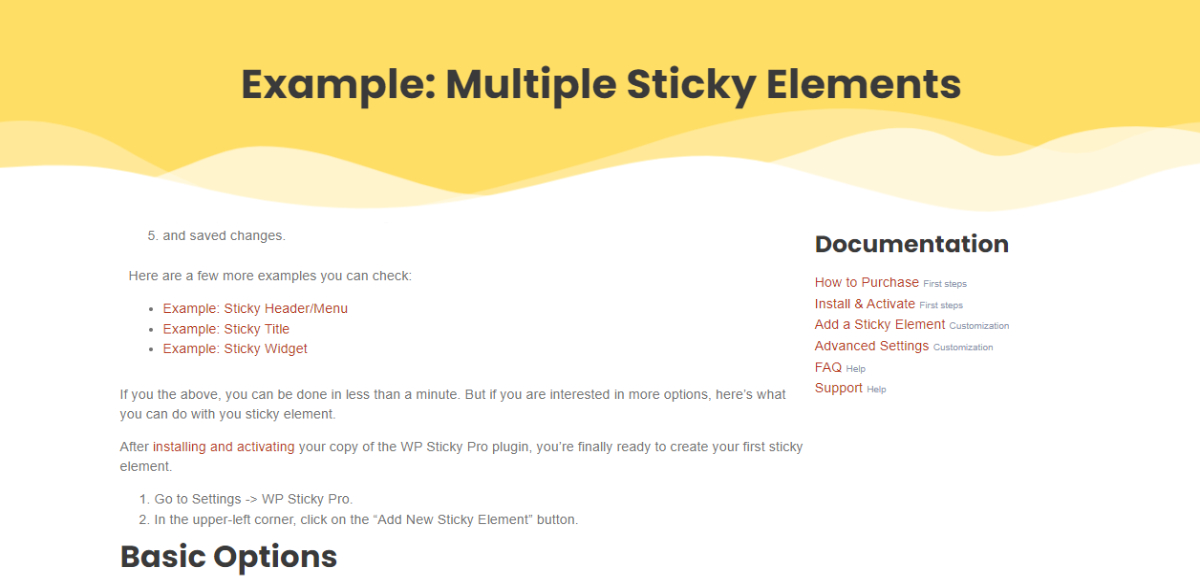
From the WP Sticky PRO dashboard, click on the Add New Sticky Element button and follow the same procedure with the element ID or Visual Picker. Once you are done, don’t forget to save changes. The plugin will take care of the rest!
Conclusion
Making a sticky menu with the WP Sticky plugin is straightforward. The procedure is the same for any element on the website – title, sidebar, call to action button, and any other widget.
No matter what is the element or the reason you want to have it always visible on the users’ screen, WP Sticky is the best way to have it. Don’t waste your time experimenting, fixing the responsivity, and many other issues – get the desired results in just a few clicks!